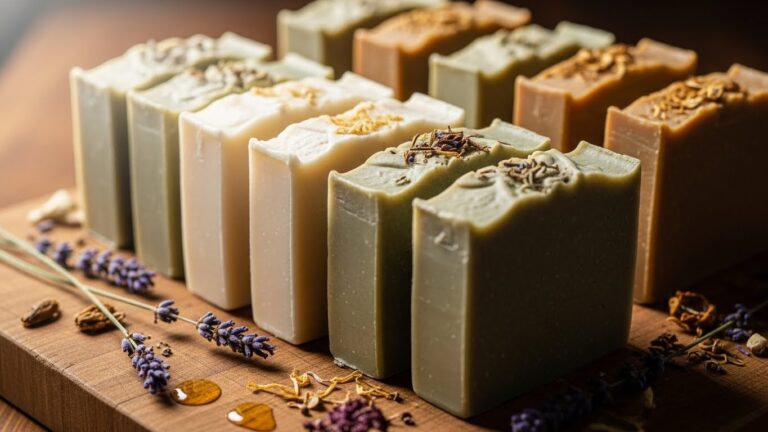
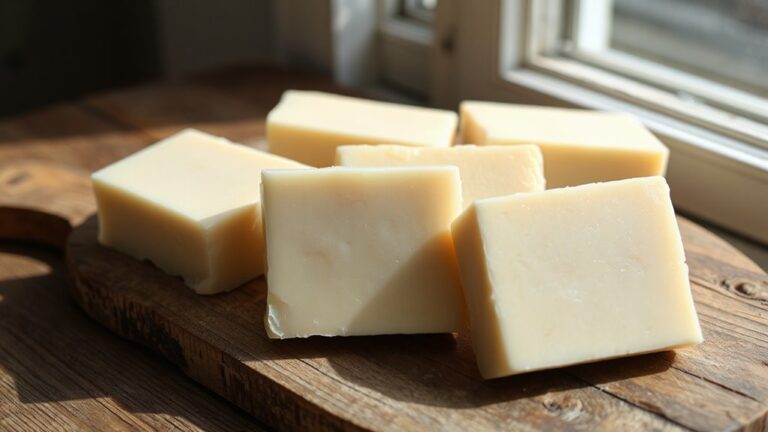
If you’re curious about soap making, start with Olive Oil Soap Recipe for a gentle, moisturizing bar.
You mix lye and water carefully, keep temps cool, and watch it thicken.
Blend with an immersion wand until light trace, then add a touch of shea.
Pour into a mold, wait as it saponifies, and cut into bars.
You’ll enjoy simple steps, safe gloves, and notes that save you time later, and there’s more to learn.
Olive Oil Soap: Quick Start Guide

Starting out with olive oil soap is easier than you think, and you can get a great bar with simple steps. You can start by choosing Castile soap as your base, then learn the cold process to blend oils safely. You mix lye with water wearing gloves, and you watch the mixture heat up just right. Next, slowly stir in olive oil until the batter trace, then pour into molds. Let it cure for weeks, and you will enjoy a gentle soap that nourishes skin. Keep notes, stay patient, and have fun with this beginner-friendly hobby for great results. For consistent emulsification, use an immersion blender with a titanium blades construction to withstand high heat and lye exposure.
Why Olive Oil Benefits Your Skin
You’ll learn how olive oil protects your skin with powerful antioxidants that counter everyday wear. In addition, its moisturizing oleic acid helps your skin feel softer and stay hydrated all day. Together, these benefits make olive oil a gentle, easy-to-use ingredient for cleansing and keeping your skin glowing. A rich source of vitamin E, olive oil helps slow rancidity and supports long-lasting soap quality.
Antioxidants For Skin
Because olive oil is rich in antioxidants, your skin gains a shield against everyday damage. These antioxidants fight free radicals, helping your skin repair itself and stay strong. You can feel the difference when you use soap containing olive oil, as it supports cellular protection while washing away grime. Think of it as a tiny team inside your skin, keeping cells happy and calm. For best results, pair gentle cleansing with a balanced skincare routine, eat leafy greens, and drink water daily. Your skin will thank you with a brighter tone and smoother texture over time. Give it a try, and you may notice a difference.
Shea butter also enhances this protective effect by delivering high fatty acids that deeply moisturize and improve skin elasticity.
Moisturizing Oleic Acid
Oleic acid helps your skin hold onto moisture, keeping it soft and flexible. You’ll notice smoother texture and a gentler touch, especially after washing. This fatty oil supports a healthy moisture barrier and is unlikely to clog pores. You can use olive oil soap to wash and still feel moisturized, not stripped. Start with a small patch on your arm to test, then apply to your hands and face. Keep sessions simple, and enjoy the gentle, beginner-friendly routine. It’s easy and satisfying to try.
Essential Supplies for Olive Oil Soap

Getting your olive oil soap started is exciting, and you only need the right tools, ingredients, and materials. From safety gear like gloves and goggles to precise scales and thermometers, you can see that crafting at home is totally doable. Keep a simple stock of olive oil, lye, water, and optional scents or colors, and you’ll be ready for your first batch.
Essential Tools For Soap
If you want smooth soap, gather these essential tools before you start. You’ll save time and avoid frustration as you learn. Have soap cutters ready to slice clean bars, and keep safety in mind with gloves and goggles. Prepare mold liners or parchment to prevent sticking, and use a sturdy mixing bowl that won’t stain. A thermometer helps you hit the right temperature, while a spatula keeps your batter moving without splatters. Have measuring cups, a sturdy spoon, and a safe, clearly labeled container for lye. With these basics, beginners can feel confident and curious about the craft today.
Ingredients And Materials
Gather clean, sturdy supplies you can trust, such as extra virgin olive oil and distilled water. Check oil quality before you buy, and choose a reliable lye source from a kitchen-friendly brand. Gather a sturdy digital thermometer, a stainless steel pot, measuring cups, and safety gloves for handling lye. Keep distilled water on hand, and have a soap mold ready for easy pouring. Choose essential oils or a safe scent if you like, and remember to label your batch. With simple steps, soap making can be calming, creative, and a satisfying project you can proudly share.
Safety Essentials for Soap Making
Safety comes first with soap making, so you’ll want gloves, goggles, and a well-ventilated space. Set up a clean workspace, wear protective gear, and measure ingredients slowly to stay safe. Lye handling requires cautious mixing, cool temperatures, and careful disposal, so follow the recipe exactly. Keep children away during mixing, use a dedicated spoon, and clean spills immediately to prevent accidents. If something seems off, pause, wash up, and seek adult help; safety empowers your creativity. You can decorate later, but first master fundamentals, then store tools securely and label everything clearly. Keep it fun, curious, and patient.
Step-by-Step Olive Oil Soap Making Process
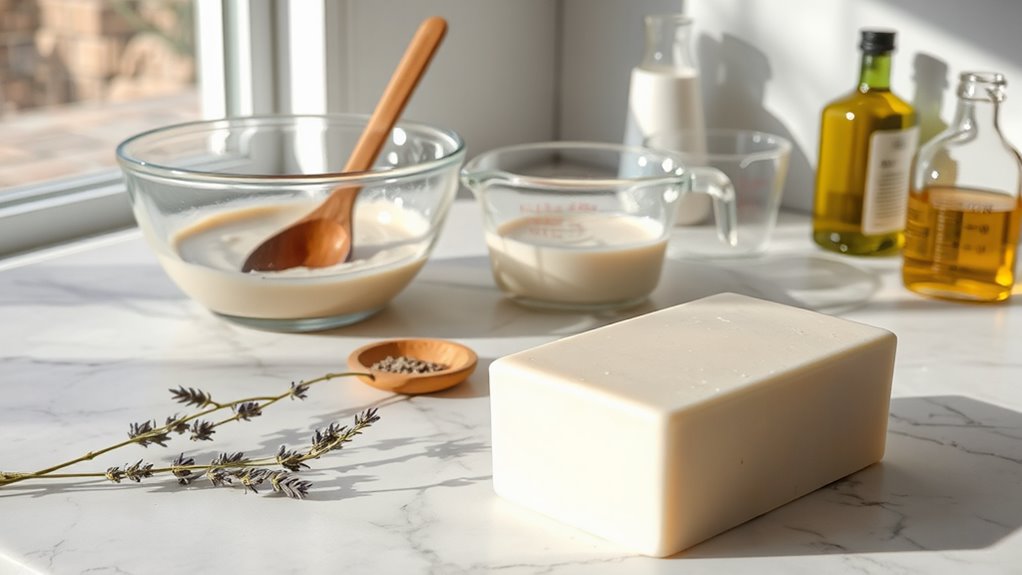
With your gloves on and your workspace clean, start by measuring the distilled water and lye carefully. Set up your thermometer and mix slowly, keeping your area calm and organized. This is the cold-process or hot-process decision point, so choose one path and follow safety steps. If you pick cold process, combine oils and lye at the right temperature, then blend until trace appears. If you prefer hot process, heat your mixture gently and stir periodically. Pour into molds after tracing, then let it cure for several weeks. Soap making stays simple, rewarding, and fun to learn.
Common Issues and Fixes for Lye-Based Soap
Sometimes your lye soap batter splits or looks grainy, but you can fix it with patience. If you see lye separation, whisk slowly, then rest the mix to regain smoothness. False trace happens when your soap feels thicker but hasn’t emulsified; test by spooning a dollop and watching for a steady drop. Keep the temperature steady, stir gently, and avoid overmixing. Add a touch of distilled water or a splash of oil to balance, then rerun the blender briefly. Pour into molds when it looks like pudding, cure patiently, and celebrate small soap-making wins with confidence and curiosity.
Frequently Asked Questions
Is Olive Oil Soap Safe for Babies and Infants?
Yes, olive oil soap can be safe for babies when you choose a gentle bar with appropriate pH and high-purity ingredients. Look for fragrance-free formulas, test a small patch of skin first, and monitor your baby’s skin; discontinue use if irritation or redness occurs. Consider rinsing well and consulting a pediatrician if your baby has sensitive or easily irritated skin.
How Can I Tell When Soap Is Fully Cured?
You’ll know it’s fully cured when pressing the bar yields a firm feel and it doesn’t indent easily. Do a hardness check and, if you want, a pH test to assess alkalinity. Allow several weeks for curing and regularly note the bar’s surface, texture, and aroma as it matures.
Can I Use Essential Oils Safely on Sensitive Skin?
Yes, you can, but proceed carefully. Always use proper dilution ratios and perform a patch test before full use. If irritation occurs, discontinue use. Choose gentle essential oils and start with the lowest concentration if you have sensitive skin.
How Should I Store Homemade Soap to Extend Life?
Store your homemade soap in a cool, dark place. Keep bars dry between uses and store them in an airtight container or wrapped tightly to minimize moisture exposure. Avoid humidity, sunlight, and heat, and use within a year for best quality.
Can I Salvage a Failed Batch of Soap?
Yes, you can salvage a failed batch. Rebatching lets you remelt the soap and add fixes, while watching for acceleration to prevent overheating. Stir gently, pour into molds, and let it cure. You’ll reduce waste and end up with usable bars.
Conclusion
You’ve got this, and soap making is a fun, friendly project you can grow with. Start simple, stay safe, and enjoy watching lye turn into gentle bars you genuinely want to use. Keep notes, measure temperatures, and reuse failed batches as scrap soap for practice. Use olive oil, add a bit of shea for softness, and share your batches with friends. Soon you’ll mix colors, scents, and textures with confidence and pride in your hobby.