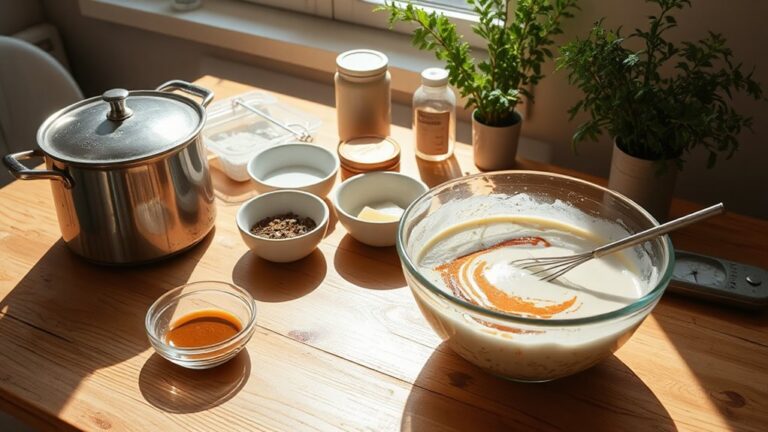
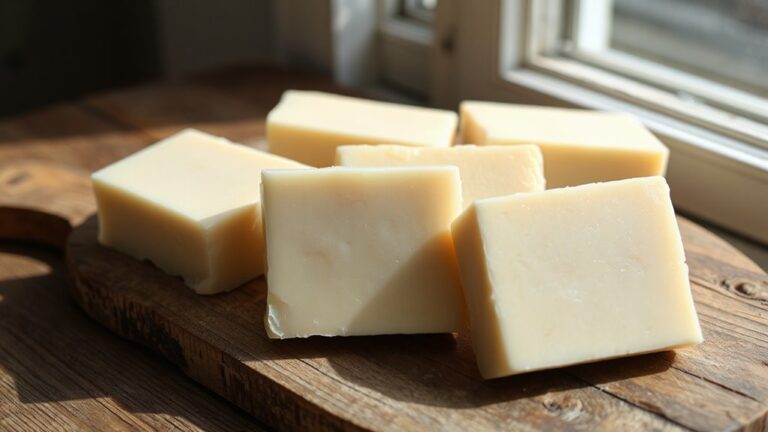
Soap making can be a fun, creative hobby you can start with simple ingredients and steps.
How to Make Cold Pressed Soap offers a guided look at the method, from safely handling lye and wearing gloves and goggles to weighing oils and watching your mixture thicken into a smooth trace you can pour into a mold.
The process rewards patience with creamy bars and a sense of craft.
If you stay steady, you’ll see how easy it can be, and you’ll want to try the next step.
What Is Cold-Process Soapmaking and Why It Works
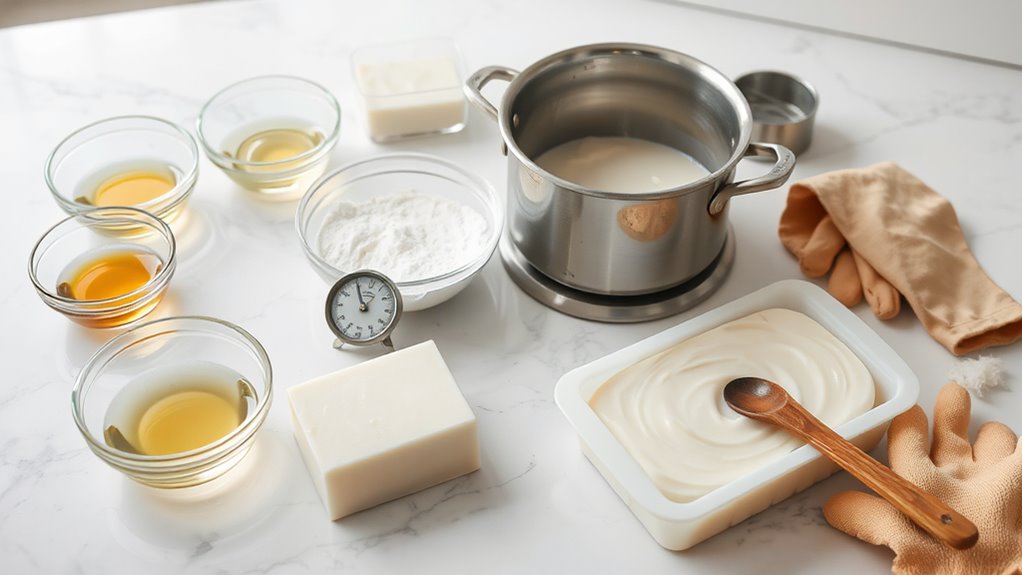
Even if you’re new to soapmaking, cold process is surprisingly approachable. You carefully mix lye with water, then blend those lye solutions with oils, creating a chemical reaction you can feel as the batter thickens. That moment, the saponification process, turns liquids into solid soap, slowly and safely. You control temperature, timing, and texture, which makes the hobby calm and predictable. It’s a friendly activity you can do at home with simple tools, a little space, and clear steps that keep you confident. With practice, you’ll feel capable and proud too. For best results, choose essential oils with strong base notes to ensure lasting fragrance in your finished bars.
What Safety Gear You Must Wear for Lye Soapmaking
You should wear gloves, goggles, and long sleeves to keep lye from touching your skin. Use dedicated soap-making tools and a sturdy container near a sink to manage splashes. Always pour lye into cool water, work with good ventilation, and keep kids or pets away. For coloring your soap safely, ensure you use only cosmetic-grade mica that has been tested for skin safety and is free from harmful contaminants.
Protective Gear Essentials
When you dive into lye soapmaking, protective gear keeps you safe and makes the process fun. You’ll wear gloves, goggles, and a long-sleeve shirt, and you’ll pick gear that fits well. Glove selection matters because snug gloves protect your hands without slowing you down. Goggle clarity is key, so choose lenses that stay clear when steam builds. Keep a clean apron nearby and tie back hair, because splashes happen. Store lye safely, away from kids and pets, in a sturdy labeled container. Practice calm, tidy habits, and you will turn safety into an easy part of the hobby together. Good ventilation is essential when working with heated bases and essential oils to reduce exposure to fumes, so always craft in a well-ventilated area or near an open window with good ventilation.
Safe Handling Equipment
Because safety comes first, you’ll want sturdy gear that fits well and moves with you. You’ll choose gloves that protect your hands from splashes and lye burns, and you’ll clean goggles thoroughly after every session with simple cleaning tips. Wear a long-sleeve shirt and an apron, plus closed-toe shoes, and keep a clean workspace near a sink. Use dedicated soap-making tools, not kitchenware, to avoid contamination. Store gear ready to grab, so you stay efficient. Check fit, replace worn gloves, and wipe surfaces to prevent slips. Small precautions make big, safe, smooth soaping enjoyable for you today.
How to Plan and Measure Ingredients Precisely
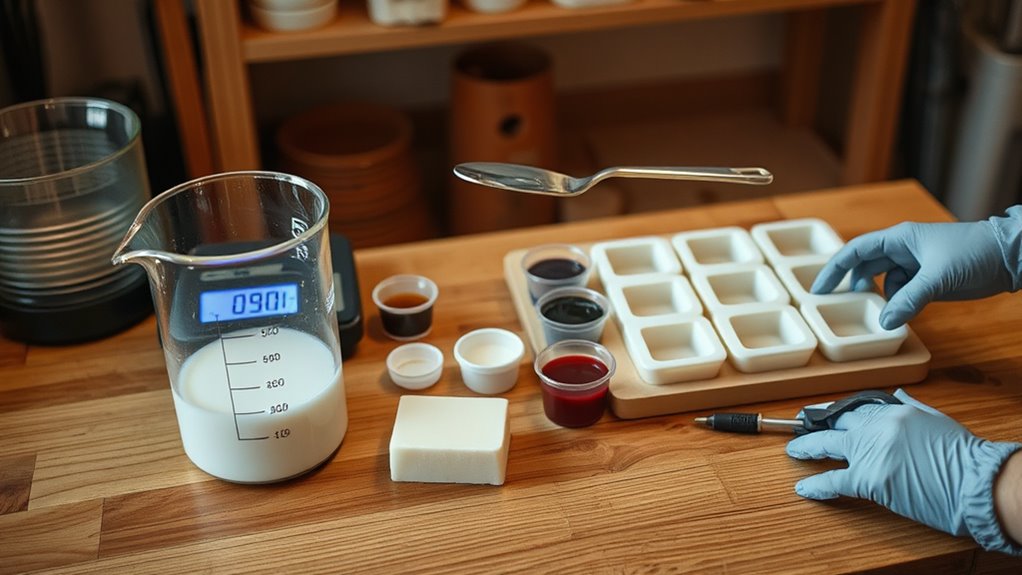
Since planning ahead saves time, you’ll measure ingredients carefully and avoid waste. Start by choosing a recipe you trust and listing every item with its exact weight or volume. Use verification to confirm critical quantities, and perform a quick calculation check before you begin. Gather everything in one place, with a clean scale and separate measuring cups. Write down your numbers, then double-check them. Keep notes simple, and adjust for altitude or substitutions. This planning keeps you confident, patient, and curious, turning soap making into a steady routine. You can do this, enjoy learning.
How to Mix Lye With Water Safely
After you plan your recipe, handle lye with care and follow safety guidelines to stay safe. Use a cool, sturdy container for any liquids involved, and work in a well-ventilated area. Protect yourself with appropriate gear, chemical-resistant gloves, splash goggles, and long sleeves. Keep kids and pets away, and maintain a clear, organized workspace. Avoid rushing and abrupt temperature changes, and consult reliable safety instructions from a trusted source for proper handling. When you’re ready to combine with oils, do so only after you’ve verified the recommended temperatures and procedures. Clean up thoroughly afterward and dispose of any waste according to local guidelines.
How to Prepare Oils and Fats for Blending
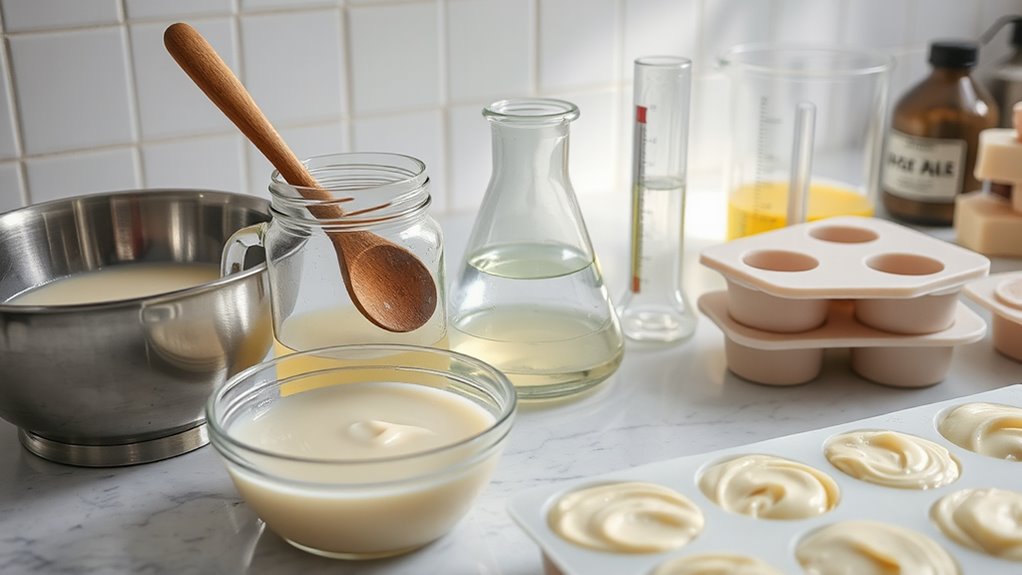
To prep your oils, heat them safely in a clean pot while monitoring the time. Melt hard fats such as coconut oil or shea fat first, then blend in the liquid oils. Aim for a matched temperature, typically around 90 to 115 degrees Fahrenheit, so the blend stays smooth.
Heat Oils Safely
Heat your oils slowly and carefully to protect scent and texture. Use a double boiler to keep heat gentle, avoid direct flame, and maintain a steady temperature to prevent surprises. Monitor the oil temperature closely; small changes matter for a smooth blend.
- Use low heat and stir gently
- Check temperature with a thermometer
- Remove from heat when the oil reaches the right warmth
That patience yields bold colors and calm soap, so you can enjoy the process and learn faster. Keep samples handy, label temperatures, and celebrate small progress with friends. You’ve got this.
Melt Hard Fats First
Start by melting hard fats like coconut oil or shea butter before you mix them with liquid oils. You want these fats smooth and warm, not clumpy, so grab a small pot and keep heat gentle. Melt coconut oil until it flows like syrup, then stir in shea butter until everything shines.
Let the mix cool to a comfortable 90 to 115 degrees Fahrenheit, the sweet spot for blending. Pour into your main oils, then whisk softly or pulse with a blender, keeping air out and texture creamy. Label the batch and smile, because soap making feels like an experiment.
Target Temperature Match
To get a smooth blend, target a temperature that matches your lye mix. When oils and fats reach a similar range, your batter emulsifies and you’ll feel confident. Keep the temperature difference small to promote smoother saponification.
- Aim for oils around 90 to 110°F, close to your lye temperature.
- Use a thermometer and adjust gradually to keep the difference under 10°F.
- If temperatures drift, pause blending and allow things to reset to the best range.
With practice, this quick check becomes second nature and soap feels like magic. You can do it, friend.
Achieving Trace: Blending Technique and Texture Cues
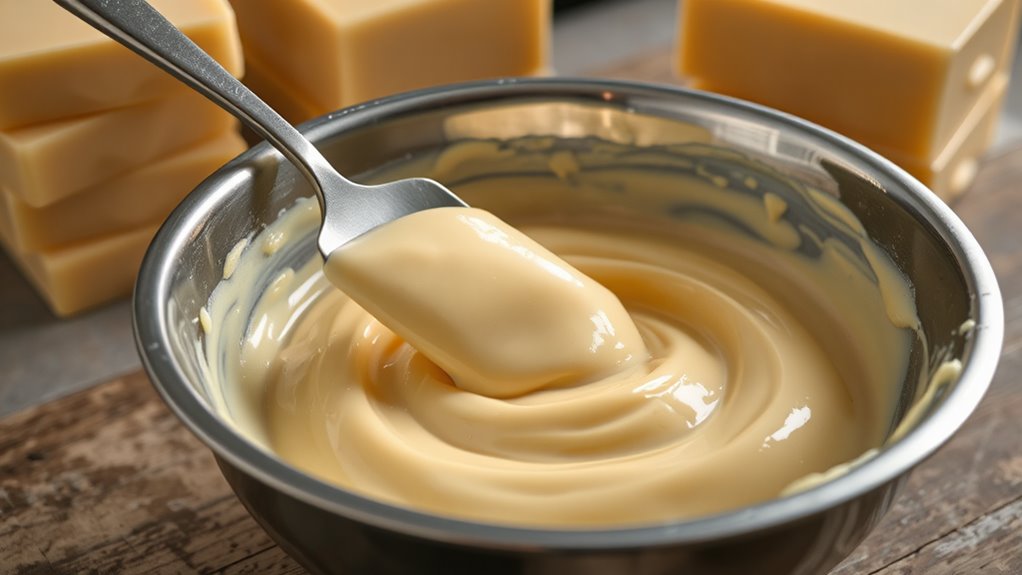
As you blend the oils, you’ll watch for the soap to thicken into light trails. Keep it friendly and simple, and you’ll get a smooth, creamy batter soon. Use pulse blending to control thickening, and pause to check the texture stages as you go. If it stays runny, give the mix a few short pulses, then stir gently. When traces appear, your mixture leaves faint lines on the surface, proving you’re almost there. Stay patient, wipe your spoon clean, and note temperatures and times for repeatable results. Keep practicing, you’ll spot your own signature texture cues over time with confidence.
Molding, Debubbling, and Immediate Post-Pour Care
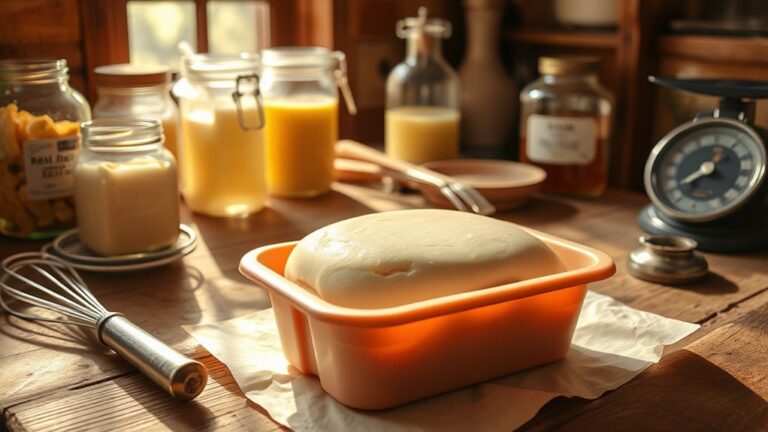
After you pour, line your mold with freezer paper and tap to pop air bubbles. Mold preparation matters, so you space and align edges for neat bars. Bubble removal happens fast with gentle taps, but let air escape before setting. Stay nearby with a quick glance, so you catch any stray air while it settles.
- Use a light tap on the sides to move bubbles
- Check for visible bubbles and nudge them out
- Keep the mold steady as you settle the batter
This simple care keeps your soap smooth and ready for a clean, easy unmold, friend every time.
Curing, Finishing, and Troubleshooting Common Issues
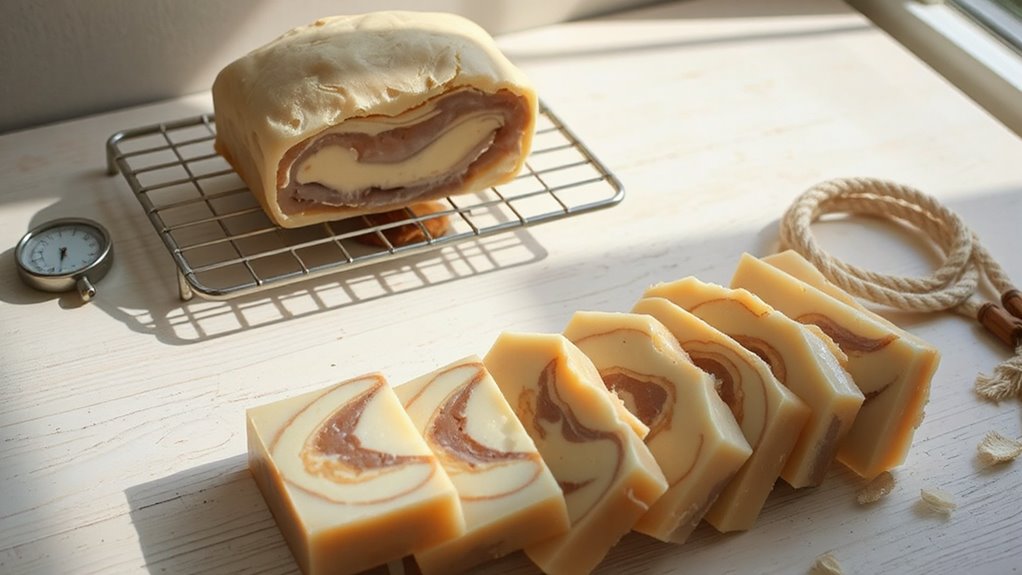
During curing, soap finishes hardening, ages evenly, and develops a clean, solid feel. Bars become firmer as weeks pass. To test readiness, press gently and look for a slight give. White frosting on the top is usually fine and is a surface issue, not interior trouble. Avoid sudden temperature changes and keep bars away from moisture to prevent surface cracks. Finish by wrapping lightly for storage, store in a cool, dry place, and label batches for reference. If issues arise, adjust insulation and cure longer, and recheck the lye balance for safety.
Frequently Asked Questions
What Is the Shelf Life of Cold-Processed Soap Bars?
Typically, cold-processed soap remains good for about 1 year or longer when stored properly. Store bars in a cool, dry, ventilated area away from direct sunlight and excess moisture. Watch for rancid or off odors, discoloration, cracking, crumbling, or unusual textures or colors, and replace bars that show any of these signs.
Can I Replace Lye With Other Alkalis Safely?
Do not replace lye with other alkalis in soap making. Wood ash and potash can be unpredictable and unsafe; they may contaminate the batch, saponify unevenly, or produce hazardous fumes. Use properly measured sodium hydroxide (lye) for soap making, and follow safe handling guidelines.
How to Customize Fragrance Without Affecting Cure Time?
You can customize fragrance without extending cure time by adding fragrance oils or essential oils after trace, not during. Keep temperatures steady and avoid overheating. Use compatible recipes, test for scent strength, and document any adjustments.
Do Colors Affect Saponification or Curing Duration?
Colors do not affect saponification or curing duration. To maintain quality, monitor pigment stability and prevent bleeding by selecting stable pigments, adding color after trace, and preserving cure time while keeping soap vibrant and safe.
Is It Safe to Reuse Soap Molds for Years?
Yes, you can reuse soap molds for years as long as the mold material is nonreactive and undamaged. Clean them thoroughly between batches, inspect for cracks or deformations, sanitize, and store them dry away from heat and direct sunlight.
Conclusion
So you can see, making cold process soap is a fun, practical project you can master with patience. Gather trusted recipes, weigh everything, and stay safe with gloves and goggles. You mix lye with water, heat and blend oils until you hit trace, pour into a mold, and tap out air. The waiting time is part of the process, but the payoff is creamy, bubbly bars you made yourself. Stick with it, learn, adjust, and enjoy.