Cold Process Vs Melt and Pour Soap, If you ask which soap method fits you, cold process and melt and pour each have perks and pinch points.
You get full control with cold process, but you mix lye and wait for a cure.
While melt and pour skips the lye and lets you play with colors fast.
Think about time, safety, and how you want your bars to feel, and see which path suits your vibe, and you’ll know what to try.
How Cold Process Soap Differs From Melt and Pour (Pros and Cons)

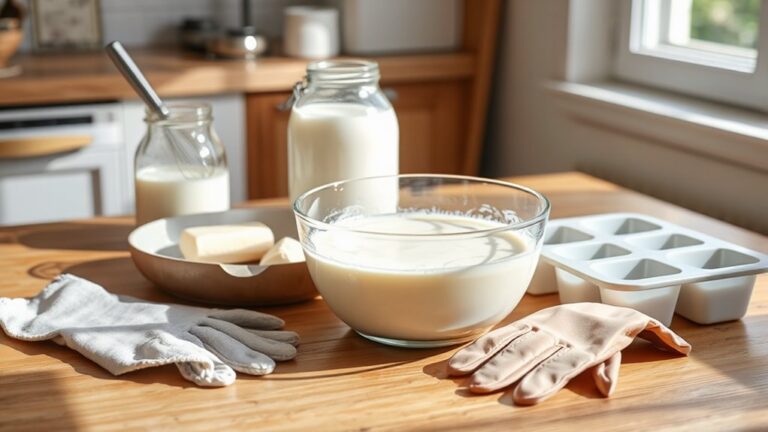
If you’re choosing between cold process and melt and pour, the big difference is how involved the making is. Cold process gives you more control over oils, scents, and colors, and you’ll handle lye safety directly. It requires patience, curing time, and careful measuring, so plan ahead. Melt and pour keeps things simple, offering quick results and easy experimentation with recipe flexibility. You can try swirl patterns and botanicals without long waits. For beginners, set up a workspace, wear gloves, and read product labels. The joy comes from creativity and learning. A popular choice for those starting out is the Earths Secrets goat milk base, which offers a creamy, soothing bar made with natural ingredients like coconut, palm, and safflower oils.
Cold Process Soap: Benefits and Drawbacks for Enthusiasts
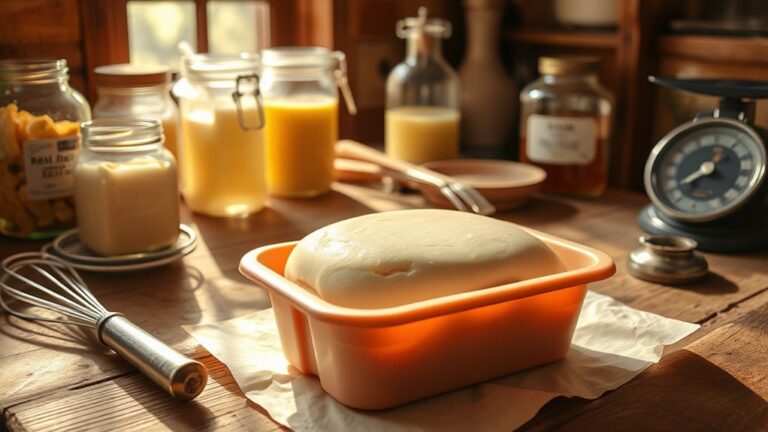
Cold process soap feels like a creative lab where you control every ingredient, from oils to scents. You mix lye carefully, watch colors bloom, and learn through hands-on practice. Ingredient sourcing matters, so you pick olive oil for smooth skin and coconut oil for lively lather. Recipe formulation becomes a small science, letting you adjust oils, butters, and additives to suit your skin. The process rewards patience with a rich, lasting bar. It’s doable for hobbyists, and with safety gear, you can enjoy crafting that really feels yours. If you start small, you’ll see progress fast, and you can share tips with friends online. Start small, stay curious, and enjoy the craft growing daily together. Using cold-pressed olive oil ensures higher vitamin E content and better soap stability over time.
Melt and Pour Soap: Benefits and Drawbacks for Beginners

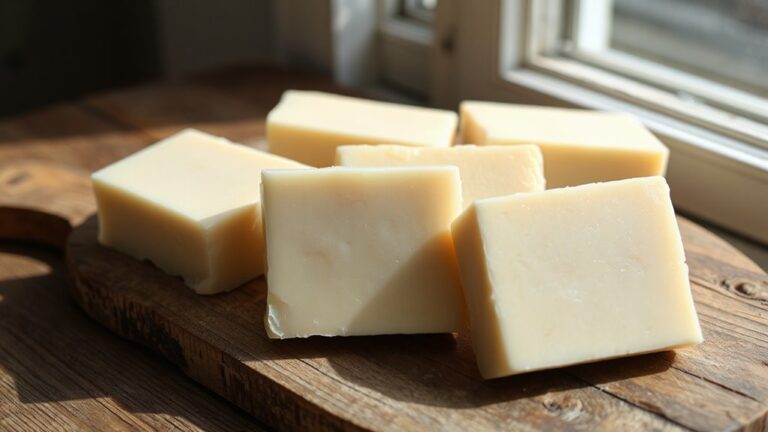
Melt and pour soap is a friendly starter path that lets you skip handling lye. You’ll enjoy easy steps, quick results, and room to experiment.
- Ease of learning
- Safety for beginners
- Speed to a finished bar
- Customization options
With practice, you’ll see how easy it is to design colors, scents, and textures you love. Keep your workspace tidy, melt the base slowly, and test small batches to avoid waste. If you mess up, wash it away easily and try again, since the base resets quickly. The hobby stays approachable, fun, and endlessly creative for beginners.
A safe and vibrant option for coloring your creations is using cosmetic-grade mica that meets skin-safe standards.
How to Choose: Quick Criteria for Your Soap-Making Journey
Anyone starting out can pick a path that fits your schedule, safety comfort, and budget. When you choose, consider your skill level and time commitment to the project. Cold process asks for patience and careful handling of lye, but you learn real craftsmanship and can customize every bar. Melt and Pour moves faster, with instant results and less risk, great for beginners or quick gifts. If you love experimenting with colors, fragrances, and textures, start with Melt and Pour, then graduate to Cold Process as you gain confidence. Set small goals, document tweaks, and enjoy the creative journey today.
Quick-Start Guide: First Steps for Cold Process or Melt and Pour

Getting started is easier than you think, and you can pick either cold process or melt and pour. You just need a few basics to begin, and I will walk you through simple steps. Here are your first steps:
- Gather supplies like gloves, a thermometer, molds, and an apron.
- Learn safety by wearing goggles and a mask when you handle lye.
- Choose your base: cold process with oils and lye, or melt and pour.
- Prep a cool, clean workspace and plan your first batch.
With patience, you’ll enjoy soap making and grow confident each week. You’ve got this, friend.
Frequently Asked Questions
How Long Does Typical Cold Process Cure Time?
Typically, cold-process soap requires about 4–6 weeks of cure time. During curing, the soap dries and the pH balances, which helps develop hardness and skin-friendly properties for safe use.
Can Melt and Pour Incorporate Natural Additives Effectively?
Yes, melt and pour can incorporate natural additives, but there are infusion limitations and color bleeding risks. You should test small batches, avoid moisture-rich ingredients, and keep additives within base recommendations to minimize separation issues.
Which Method Yields Greener Soap?
Cold process yields greener soap when you choose sustainable palm oil and ingredient sourcing, since you control additives and avoid pre-made bases. You’ll reduce waste and support responsible practices by sourcing from certified suppliers and minimizing packaging.
Do You Need Equipment Beyond Basic Kitchen Tools?
Yes, soapmaking requires gear beyond kitchen utensils. Invest in gloves, goggles, a thermometer, a stick blender, molds, and a container. Safety precautions and costs vary, but quality tools protect you and improve results.
How to Store Finished Bars for Longevity?
Store finished bars in a cool, dry place with low humidity and a stable temperature. Keep them away from heat, moisture, and direct sunlight. Wrap or cure briefly, then condition in breathable packaging to maximize longevity.
Conclusion
Whichever path you pick, soap making stays a fun, doable hobby you can grow in. Cold process gives you personalized bars with care, patience, and a little science you can master with practice. Melt and pour helps you try colors and scents fast, with less worry about safety. Start small, measure carefully, and keep your workspace tidy. Ask questions, test new recipes, and share your creations with friends for extra motivation and pride, every day.