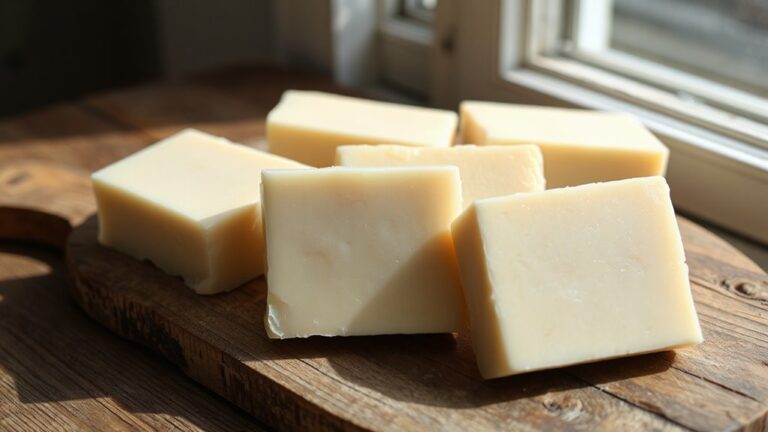
There’s something oddly satisfying about cutting into a fresh bar of soap you made yourself. Maybe it’s the clean lines, the smell you chose, or just knowing exactly what went into it. Whatever the reason, learning how to make soap at home has become one of those craft skills that feels both practical and a little bit indulgent.
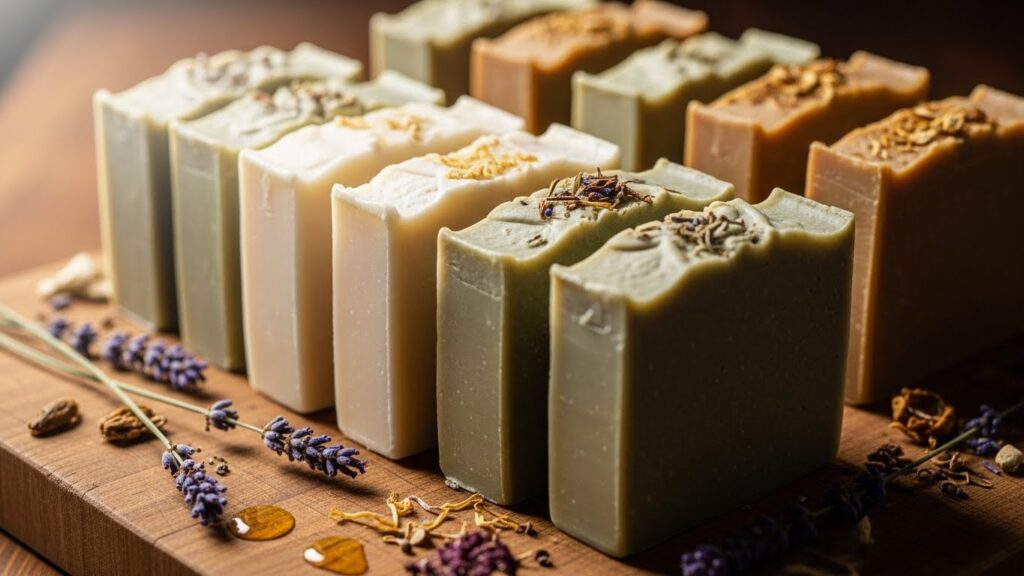
If you’ve never made soap before, the process might seem intimidating – people throw around terms like “trace” and “saponification” like everyone should know what they mean. But here’s the thing: soap making is surprisingly straightforward once you understand the basics. You’re essentially mixing oils with lye (yes, that lye), waiting for a chemical reaction to happen, and ending up with something you can actually use.
This guide walks through everything you need to know to make your first batch of homemade soap, without the pretense or the chemistry degree.
What You Actually Need to Get Started
The ingredient list for basic soap is shorter than you’d think. You need oils or fats (olive oil, coconut oil, and palm oil are common choices), lye (sodium hydroxide), and water. That’s it for a basic bar.
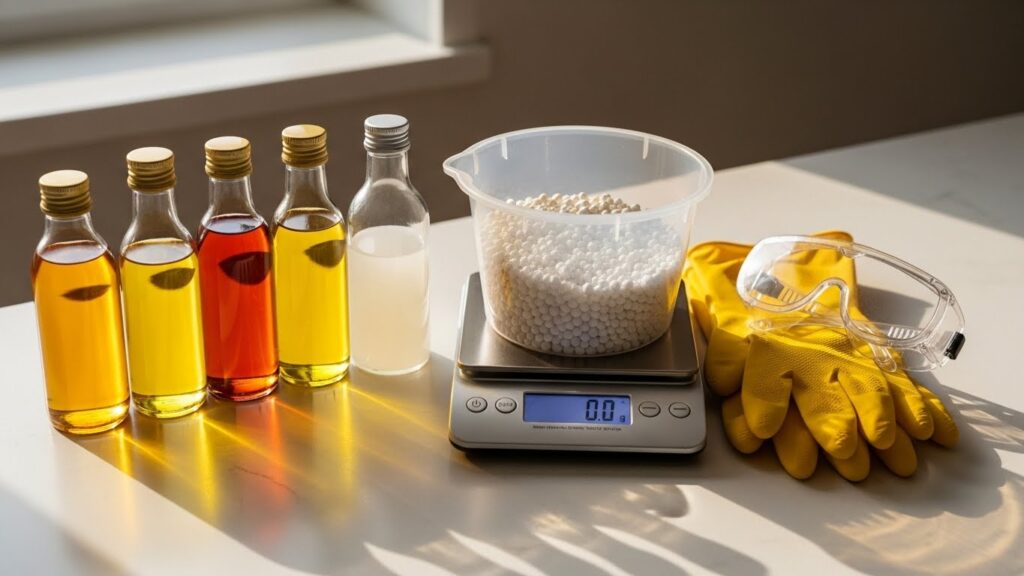
Now, lye gets a bad reputation because it’s caustic – it’ll burn your skin if you’re careless with it. But once it reacts with the oils, it transforms completely. There’s no active lye left in properly made soap. You just need to treat it with respect while you’re working with it: gloves, long sleeves, and good ventilation aren’t optional.
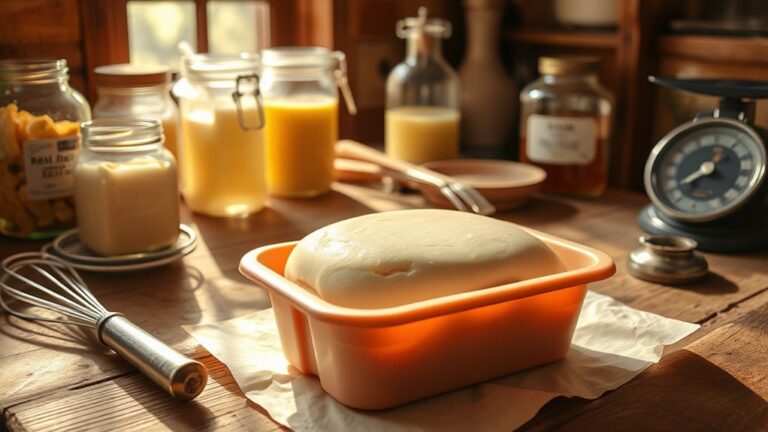
For equipment, you’ll want a digital scale (soap making requires precision), a stainless steel or heat-safe plastic container for mixing, a stick blender, and a mold. Silicone loaf molds work great, but you can also line a cardboard box with freezer paper if you’re testing the waters before investing in supplies.
One thing that surprised me when I started: you can’t just eyeball measurements. Soap making is one of those rare cooking-adjacent activities where you actually need to weigh everything. Too much lye and your soap will be harsh; too little and it’ll be oily and soft.
The Cold Process Method (And Why It’s Perfect for Beginners)
Cold process soap making is the most popular method for homemade soap, and it’s the technique most people mean when they talk about soap making for beginners. You’re not applying external heat – the chemical reaction between lye and oils generates its own warmth.
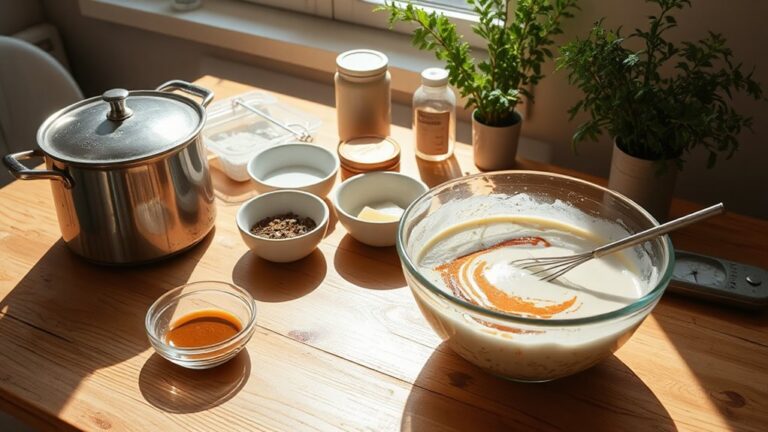
Here’s how it works: you mix your lye with water (always add lye to water, never the reverse, or you’ll get a volcanic reaction), let it cool, then blend it with your melted oils. The mixture thickens to something called “trace,” which looks like thin pudding. Pour it into molds, let it sit for 24-48 hours, cut it into bars, then cure for 4-6 weeks.
That curing time frustrates people at first. You want to use your soap immediately. But during those weeks, excess water evaporates and the soap becomes milder and longer-lasting. Bars I’ve rushed to use after two weeks were mushy and disappeared quickly. The ones I actually let cure? They last months.
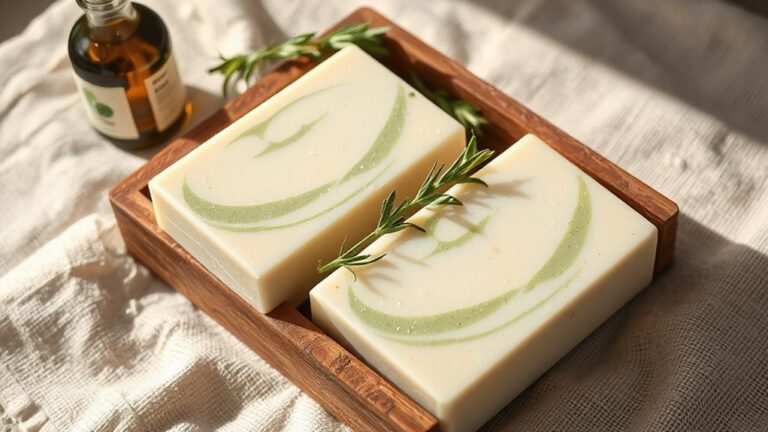
The cold process gives you complete control over ingredients, which matters if you have sensitive skin or you’re picky about what goes on your body. You can adjust oil ratios, add botanicals, include clays for color, or keep it completely simple.
Understanding Oils and What They Do
Different oils create different properties in your final bar, and this is where soap making gets interesting. Olive oil makes a gentle, moisturizing bar but it can be slimy if you use too much. Coconut oil creates big, fluffy bubbles and hardness, but over 30% and it becomes drying. Palm oil adds firmness and a creamy lather.
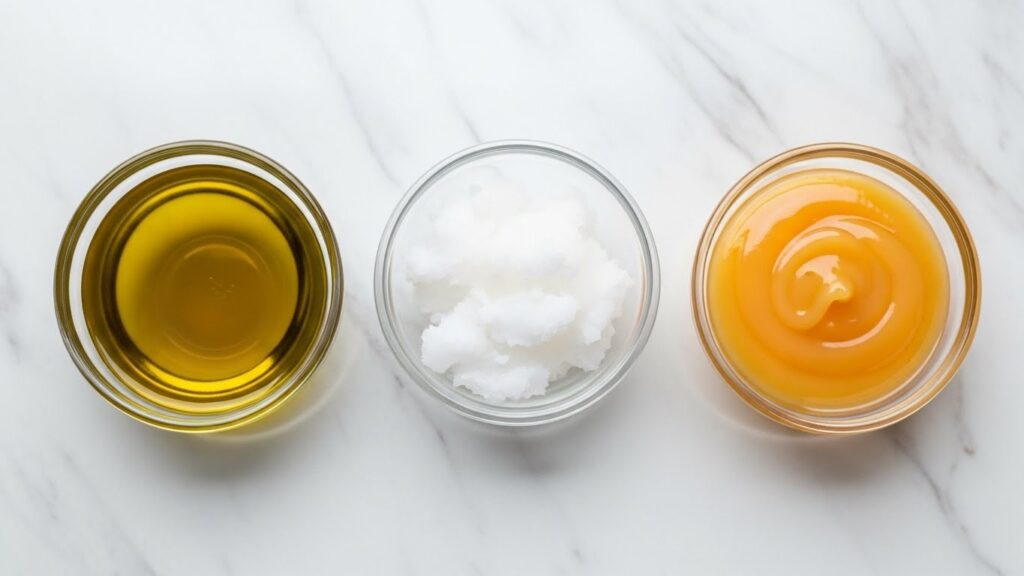
A balanced recipe usually combines three or four oils. My go-to beginner formula uses 40% olive oil, 30% coconut oil, and 30% palm oil (or sustainable alternatives like shea butter or cocoa butter if palm oil’s environmental impact bothers you – it bothers me).
You’ll also see people talking about “superfatting,” which means using slightly more oil than the lye can fully react with. This leaves extra moisturizing oils in your finished soap. Most recipes superfat at 5%, which gives you a safety margin against lye-heavy soap while keeping the bar from being too oily.
There are online lye calculators that do the math for you. You enter your oil amounts, choose your superfat percentage, and it tells you exactly how much lye and water you need. Don’t skip this step or try to wing it – the chemistry has to be precise.
The Actual Process (Step by Step)
Suit up first – gloves, long sleeves, safety goggles. Mix your lye solution in a well-ventilated area, preferably outside or near an open window. The fumes are strong for about 30 seconds. Add the lye slowly to your water (not water to lye), stir until dissolved, then set it aside to cool to around 100-110°F.
While that’s cooling, melt your solid oils and mix them with your liquid oils. You want everything around the same temperature – within 10 degrees of each other – before combining. Temperature matters less than you’d think (people get obsessive about it), but being in the general ballpark helps.
Pour the lye solution into your oils and start blending with your stick blender. You’ll see the mixture change from separated liquid to something more uniform. Keep blending in short bursts (running the blender continuously can burn out the motor) until you reach trace. Light trace looks like thin pancake batter; medium trace is more like pudding.
Pour it into your mold, tap it on the counter to release air bubbles, smooth the top if you care about appearance, and cover it. I use a piece of cardboard topped with a towel. The soap will heat up on its own as it saponifies – this is normal and good.
After 24 hours, check if it’s firm enough to unmold. Sometimes it needs another day. Once it’s out, cut it into bars (a dough scraper or sharp knife works), then set the bars on a rack or cardboard with space between them. They need air circulation during the cure.
Common Problems and How to Fix Them
Soap that never hardens usually means you mismeasured something or your lye was old and weak. Lye absorbs moisture from the air, which reduces its strength over time. Store it in an airtight container.
If your soap separates or has liquid pooling on top, that’s often from mixing at temperatures that are too different or not blending enough. You can sometimes save it by reheating and reblending (called “rebatching”), though the texture won’t be as smooth.
White powdery stuff on the surface is soda ash – cosmetic only, not harmful. It happens when fresh soap reacts with carbon dioxide in the air. You can prevent it by covering your mold with plastic wrap touching the surface, or just wash it off before using the bar.
The most common beginner mistake is impatience. Wanting to skip the cure time, using soap too early, or trying to make complicated recipes with extracts and fragrances before mastering a basic batch. Start simple. Get comfortable with the process. Then experiment.
FAQ
Q: Is homemade soap actually safe to use, and how do I know if I made it correctly?
A: Properly made soap is completely safe. You can test pH with strips (it should be between 8-10), or do a “zap test” by touching your tongue to a cured bar – if it zaps like a battery, there’s excess lye and it needs more time. If there’s no zap and the bar lathers well, you’re good to go.
Q: How long does homemade soap last compared to store-bought soap?
A: Well-cured homemade soap often lasts longer than commercial bars because it typically contains more oils and less water. A properly dried bar can last 2-3 months with daily use, sometimes longer. Store extras in a cool, dry place wrapped in paper (not plastic) and they’ll keep for a year or more.
Q: Can I make soap without lye or is there an alternative method?
A: True soap requires lye – there’s no way around it. However, melt-and-pour soap bases are pre-made soap that you melt, customize with colors and scents, and pour into molds. It’s not “making soap from scratch,” but it’s a good starting point if lye makes you nervous. The chemistry has already happened for you.
Why Bother Making Your Own?
The practical reasons are obvious – you control the ingredients, it’s cheaper once you have supplies, and you can customize everything. But there’s something else that keeps people making soap long after they’ve proven they can do it.
It’s the same appeal as baking bread or growing tomatoes. You’re making something useful with your hands, understanding the process behind a product you use daily, and ending up with something tangible. In a world where most things arrive in packages from warehouses, there’s value in knowing how to create basic necessities yourself.
Your first batch probably won’t be perfect. Mine had air bubbles and weird texture on one side. But it cleaned just fine, and I learned what to adjust for the next round. That’s the whole point.