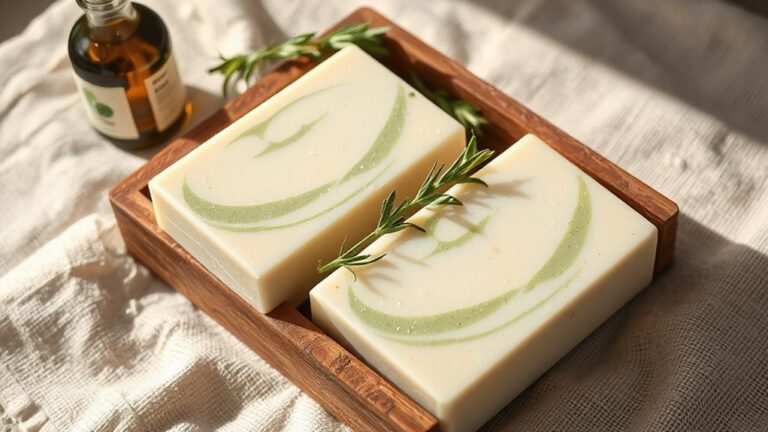
If you try Coconut Oil Soap, you get hard, bubbly bars you can use daily.
You’ll mix coconut oil with lye and water, then let the cold process do its work.
Starting around sixty percent coconut oil gives strong lather and bars that hold.
It’ll take weeks to cure, so you plan, label, and stay curious.
If you want softer skin or a milder bar, you can tweak the blend.
What Coconut Oil Soap Is and Its Key Properties
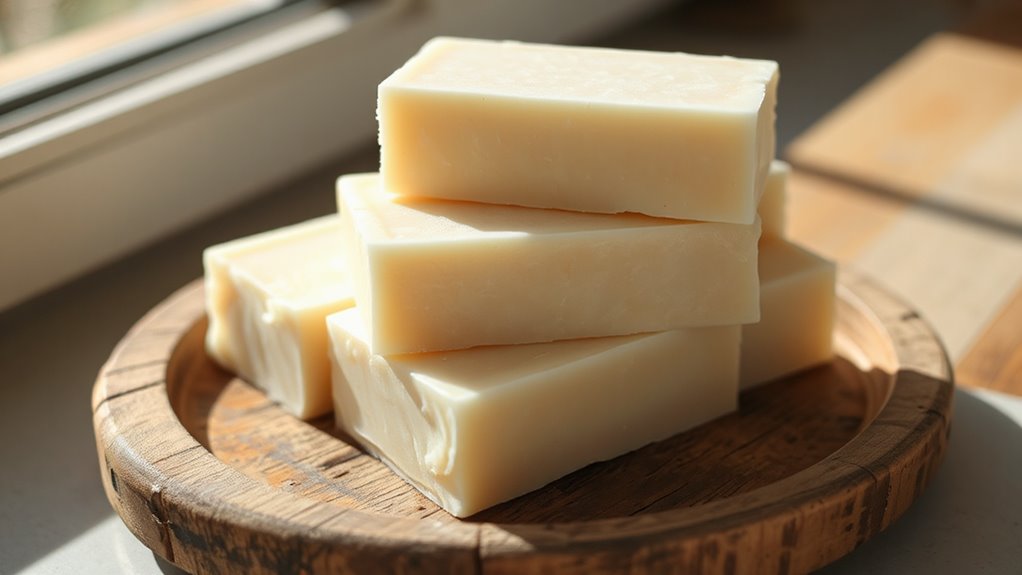
Coconut oil soap is a simple, solid cleanser made from coconut oil, lye, and water. By mixing ingredients you can find at home, you watch the soap form. The fatty acids in coconut oil boost cleansing power while keeping skin gentle. This process teaches patience, measurements, and safety, so you feel proud crafting. You measure, melt, mix, and pour, then wait for hard bars to set. If you keep it basic, you get reliable cleansing power without harsh drying. Store in a safe place, label your batches, and share with friends. It becomes a fun hobby. For those seeking a moisturizing base alternative, consider a triple butter soap base which combines shea, mango, and cocoa butters for enhanced skin softness.
Skin Benefits of Coconut Oil Soap
If you love simple self-care, this soap can boost your skin’s health. You’ll notice softer skin and fewer irritations after a few uses, thanks to gentle cleansing. Coconut oil supports moisture without drying and may help with acne treatment and eczema relief over time. It moisturizes with a light barrier, helping you feel comfortable during daily routines. You can wash your face morning and night, then pat dry gently. Pair with a mild moisturizer for best results. Remember, consistency matters, and skin improves with regular, mindful use. It stays affordable and easy for beginners to use at home. Adding high fatty acids can further enhance moisturization and skin elasticity in your soap formulation.
Step-by-Step Cold-Process Soap Recipe

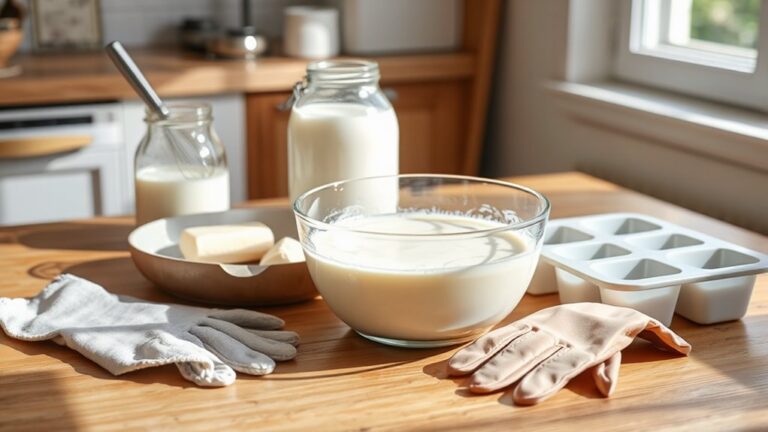
First, gather your ingredients and safety gear, then clear a clean workspace you trust.
- Gather lye, distilled water, and melted coconut oil, then measure carefully.
- Wear goggles and gloves, and work in a vented area for safety.
- Mix lye with water slowly, stirring until clear before adding oils.
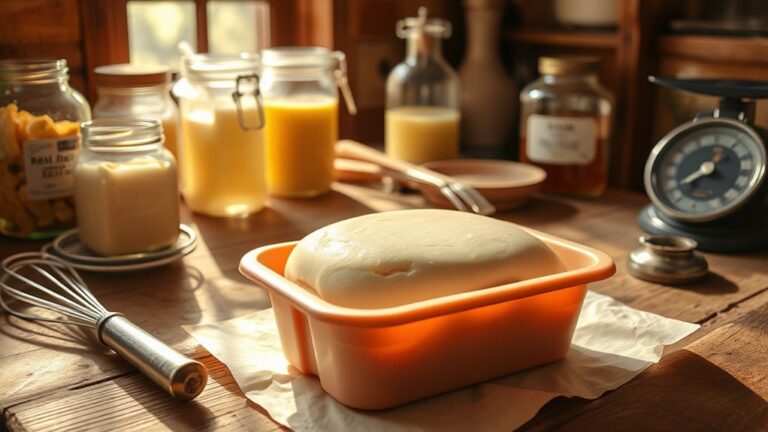
- Pour at trace, blend, and pour into molds, then keep away from kids.
Keep equipment stored neatly, and respect safety rules at every step. This hobby stays approachable when you measure slowly, clean up after each batch, and ask a grown-up to supervise. You can learn and enjoy creating soap.
A well-ventilated workspace is essential when handling fragrances and melted bases to minimize inhalation of fumes, so always ensure good ventilation during the soap-making process.
How to Optimize Lather and Hardness
You can boost lather by adjusting the ratios: start with small batches and add a bit more water to the mix.
Coconut oil: adding a touch more oil can improve conditioning without reducing bubbles.
Hardness from curing: allow the bars to cure for several weeks to become firmer.
Optimize Lather By Ratios
Because optimizing lather is simpler than you might think, you can dial in ratios quickly. Small tweaks change bubble stability and foam volume, making bars feel softer or crisper. Keep ratios simple and test a batch, then another, until you love the result. Here are quick steps to try:
- Start with 60% coconut oil, 30% hard oil, 10% liquid oil.
- Adjust lye-water to keep the batter flow smooth.
- Add a splash of water at trace to boost bubbles.
- Let cure to harden the surface and keep lather strong.
If it prickles, ease oils a bit. Enjoy the process.
Coconut Oil Content Tips
Finding the right coconut oil content is simpler than it sounds, and small changes can improve both lather and hardness. Start with a balanced amount around 30 percent and adjust in small steps, testing the soap after each cure. Remember: oil quality matters, so choose fresh, unrefined coconut oil for better foam and a sturdier bar. Sourcing ethics matter too, so look for transparent suppliers and fair practices. If lather seems thin, add a bit more coconut oil or switch to a slightly warmer water mix. Keep notes, stay curious, and enjoy the hands-on learning each batch brings.
Hardness Through Curing Time
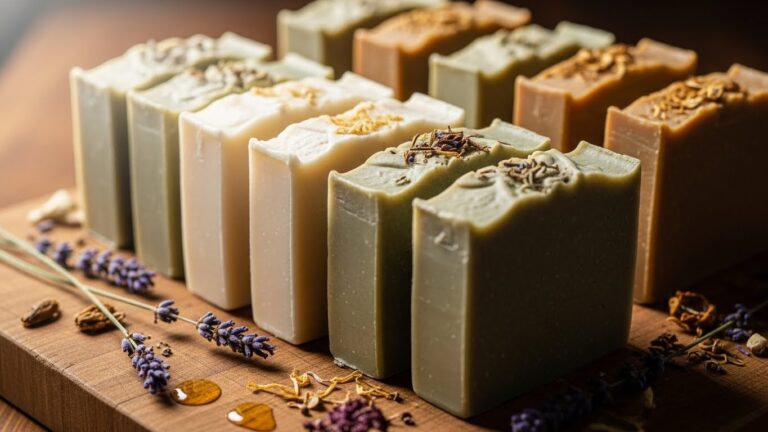
With curing time, your coconut oil bars harden as water escapes, improving texture and longevity. As you wait, you’ll notice bar density becomes steadier, making lather easier to control. The key is curing duration, not rushing the wait, so plan for a calm, patient routine. You can tweak small factors like room temperature and airflow to coax even hardness.
1) Place bars in a warm, draft-free spot for steady drying
2) Turn bars daily to even out moisture and density
3) Keep air space around bars so they cure fully
4) Weigh every week and note curing duration for consistency each batch
Variations and Substitutions for Blends
You can mix coconut oil with olive oil for a gentler, nourishing soap blend. This gives you easy oil blends you can tailor, and it invites you to try ingredient swaps without fear. Start with 20 percent olive oil in a coconut base, then adjust until it feels creamy rather than slippery. For substitutions, swap half the water for coconut milk, or replace a quarter of the oil with avocado oil or jojoba oil for skin benefits. Keep notes on texture and bubbles, because blends change lather and hardness. Have fun, experiment safely, and share your victories with friends and fellow crafters.
Troubleshooting Common Soap-Making Issues
If your soap batch looks off, double-check your lye calculation and water amount. Temperature matters, so keep the mix around 95–110 degrees and adjust with gentle warming or cooling. Monitor trace and texture closely, stirring to a light or medium trace, and test with a spoon before pouring.
Lye Calculation Errors
Mistakes in lye calculation happen, but they’re easy to spot and fix with patience. When you check your numbers, stay calm and double-check each step. You want accurate measuring, careful weighing, and clean tools. If something looks off, pause, recheck your recipe, and adjust slowly. Lye is powerful, so follow safety precautions and wear gloves. Keep a notebook of your results so you learn as you go. Here are quick tips to keep you on track:
- Measure by weight, not volume
- Use fresh lye
- Weigh water separately
- Label containers clearly
You’ll get confident fast.
Temperature Control Issues
Temperature control can make or break your soap, so stay curious and proactive. If the mix cools too fast, stir gently and warm your heat sources evenly. If it stays too warm, move the pot off the stove and slow the cooling. Cooling speeds matter for texture, so test a small batch to dial in your temps. Use a thermometer, keep drafts away, and log each run for future gains. Remember, heat sources like stoves, hot plates, or water baths all affect outcomes. Be patient, adjust gradually, and celebrate small wins as your bars improve. Your confidence will grow.
Trace And Texture
Once your mix reaches trace, it thickens enough to leave a gentle trail on the spoon. You want smooth emulsification and clean saponification as you stir, not lumps. If it thins, warm gently or add a splash of water to balance texture. Keep notes, stay patient, and celebrate small progress as you learn.
- Watch for emulsification when oils and lye meet and stay steady.
- If the mix seizes, warm slowly or add measured water to loosen.
- Test texture with a spoon, aiming for a light, creamy trail.
- Record your steps, noting temperatures and saponification progress.
You’ve got this, friend.
Frequently Asked Questions
How Long Does Hard Coconut Oil Soap Cure?
Typically, hard coconut oil soap cures for about 4 to 6 weeks. This curing period helps the soap reach its maximum hardness and ensures the cure is complete. Check the unmolded edges and the scent before use.
Can Coconut Oil Soap Cause Skin Irritation or Allergies?
Yes, coconut oil soap can irritate the skin or trigger allergic reactions in some people, especially those with sensitive or compromised skin. Do a patch test on a small area first. If you notice redness, itching, swelling, or any irritation, discontinue use and consult a dermatologist if needed.
Is Coconut Oil Soap Safe for Babies and Sensitive Skin?
Yes, coconut oil soap can be safe for babies and sensitive skin if you choose a mild formulation and high-quality oils. Do a patch test first, monitor for irritation, and avoid added fragrances to protect delicate skin and oil quality.
What Storage Conditions Preserve Soap Freshness Longest?
Store soap in a cool, dry place away from moisture. Keep humidity and temperature steady, ideally around room temperature. Allow bars to dry completely between uses, use breathable containers, and avoid sealed cupboards to extend freshness.
Can I Scent or Color Coconut Oil Soap Without Additives?
Yes, you can scent or color coconut oil soap without additives by using essential oils or herb infusions; add sparingly, test skin sensitivity, and note that colors come from natural infusions rather than synthetic dyes.
Conclusion
You can start soap making and discover a rewarding hobby right at home today.
With coconut oil soap, you’ll mix simple ingredients, cure patiently, and enjoy hard, bubbly bars.
Begin with around 60 percent oil and adjust blends to boost lather or softness.
Use safe gloves, clean tools, and patient timing to keep the process smooth for beginners.
After curing, you’ll enjoy firmer bars, nicer scent, and real soap confidence.