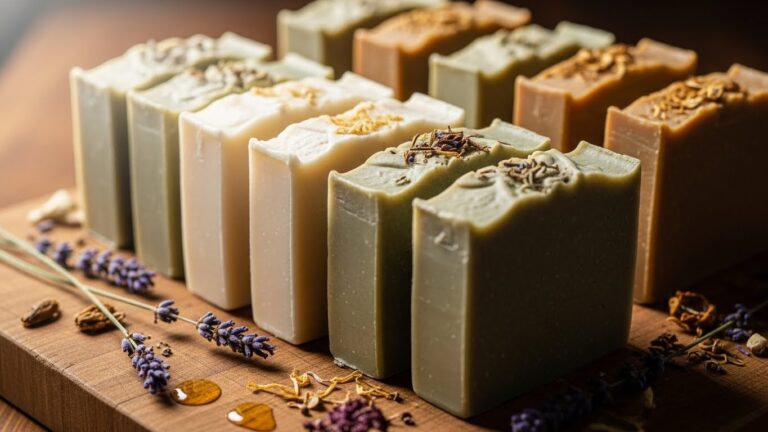
Lard Soap Recipe: You can start with simple lard soap recipes that keep costs low and results creamy.
With basic safety steps, you mix lye carefully, melt fats, and watch for light traces.
You can try 60 percent lard, add olive oil, and a touch of coconut for balance.
It feels approachable, almost practical, and the cure gives you a lasting bar.
Stick around, and you will get tips on texture, scents, and how to troubleshoot.
What You Need for Lard Soap: Ingredients and Equipment

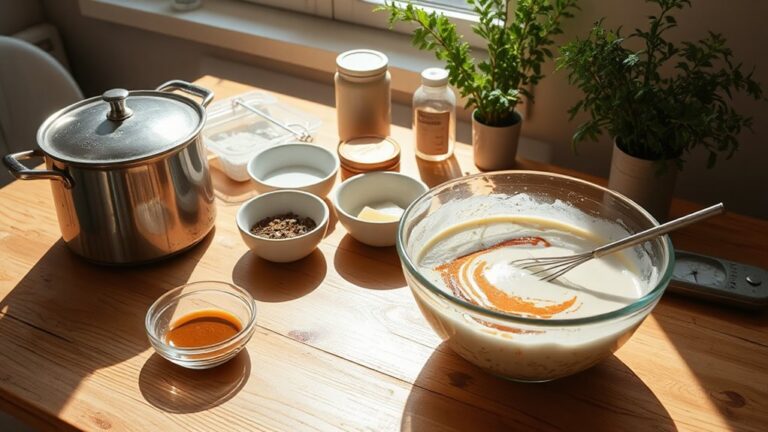
To start lard soap, you’ll need the right fats, lye, and water measured carefully. Gather a fat source like 1000 g lard, a precise alkali concentration with 133 g lye, and 266 g water, plus a few extras for scent or color. Your equipment list stays simple: digital scales, a stainless pot, a blender, and lined molds. Keep any safety gear nearby, gloves and goggles, and a vented space. This hobby feels doable when you measure carefully and follow steps. You’ll mix the lye with water first, then blend into melted fat, checking temperature for smooth progress toward a creamy batch.
Safety note: lye is caustic. Handle with care, wear protective gear, and work in a well-ventilated area.
A titanium alloy blades blender offers increased durability when mixing thick soap batters.
Lye Safety Essentials for Lard Soap Making
Lye safety matters because a small mistake can burn skin or irritate eyes. Keep your workspace calm and clean, and wear proper safety gear every time you mix lye with water. You’ll get better results when you stay focused and patient, so take your time and check temperatures often.
- Wear goggles, gloves, and an apron to protect your eyes, hands, and clothing.
- Always add lye to water slowly, and stir gently to minimize splashes.
- Work in a well-ventilated area, and have vinegar on hand for emergencies.
- Keep children and pets away, and store lye safely after use.
When adding colorants like mica powder, ensure you use only cosmetic-grade mica to maintain skin safety and avoid irritation.
Step-by-Step Process: Melt, Combine, and Trace

First, melt the lard gently, keeping the fat between 37 and 51 degrees Celsius to stay smooth. Then you mix in the lye slowly, watch for a light trace as you blend. Keep the temperature steady and use short, gentle blends to keep the swirl light and creamy. For consistent results, use a blender with sufficient power and torque to handle thick, heated mixtures without overheating.
Melt Fat Properly
If you want smooth, creamy soap, start by melting the lard slowly over low heat until it’s just warm.
- Keep heat gentle and steady to avoid scorching.
- Monitor the temperature, aiming for steady, moderate heat, not too hot or too cool.
- Stir calmly, using small, circular motions to blend evenly.
- When the mixture feels silky, check the scent and adjust gently, then set aside.
Now you’re ready for the lye step, with gentle heating guiding the mix toward a creamy texture. Stay safe, wear gloves and goggles, work in a well-ventilated area, and enjoy the simple, rewarding craft of soap making at home.
Achieve Thin Trace
As you melt the lard and warm the lye solution, stay calm and steady. Next, pour the lye into the fats and begin emulsification with gentle stirring. Keep temperatures steady, watching for a light, creamy trace that thickens slowly and evenly. Use your immersion blender at a moderate speed until a thin trace forms smoothly. If the mix looks oily, pause and blend a few more seconds to finish completely. Add oils or fragrances at trace, then pour into molds after a light set. Remember, patience pays off, and careful patience makes your lard soap feel truly creamy today.
How to Balance Oils for Lard Soap
You can balance lard soap by pairing it with light oils such as olive or coconut for smoother bars. Start with a base ratio such as 60% lard, 30% olive, 10% coconut, and adjust for lather. Additives for balance, like a pinch of clay or a dash of essential oil, can fine-tune the feel.
Optimal Oils Ratios
Balancing oils for lard soap means blending fats to achieve the desired feel and lather. Start with a base of lard, add a splash of olive oil or coconut oil, and test the balance. Keep oil percentages simple so you can adjust easily, and focus on a smooth, creamy lather quality. Here are quick ideas you can try at home:
- 60% lard, 30% olive oil, 10% coconut oil
- 50% lard, 40% palm or canola oil, 10% castor oil
- 70% lard, 20% sunflower oil, 10% avocado oil
- 65% lard, 25% olive oil, 10% cocoa butter
Tips: try small batches, record results, and refine based on hardness, cleansing feel, and lather. Enjoy the learning journey.
Additives For Balance
From the oil ideas above, additives for balance give you more control over lather, hardness, and creaminess. You’ll mix small amounts into lard soap to tune bubbles, lasting dryness, and a smooth texture. Clay inclusion provides gentle scrub and stiffness, or a petal infusion offers a softer feel. Balance means testing small batches, then adjusting fats, waters, or superfat levels. Keep notes, use a scale, and store leftovers in labeled jars for future mixes. Clay inclusion and petal infusion can be swapped to match your soap goals. Enjoy the process, stay patient, and you will craft balanced bars.
Color, Fragrance, and Texture: Customizing Your Lard Soap

Color, Fragrance, and Texture: Customizing Your Lard Soap
When you customize lard soap, color and scent turn ordinary bars into tiny experiments. You’ll pick pink hues and floral scents to match your mood, then observe how small changes transform the bar. Here are simple ideas to try:
- Add rose-pink clay for a soft blush and smoother texture
- Use lavender essential oil for a calming floral scent
- Mix mica pigments to create pretty swirls of color
- Sprinkle dried petals for a pretty finish
With each batch, keep temperatures steady, blend gently, and start with mild scents. Soon soap making feels playful and easy, like crafting small, useful art together.
Curing Timeline and Why It Matters
After you pour your soap into molds, the curing timeline gives it time to harden and become milder. You’ll notice the texture firming as moisture leaves and the scent settles, which makes your soap feel more solid and ready to use. During this phase, you may monitor pH and trust the saponification process to finish, ensuring your bars are safe and gentle. Keep them in a cool, dry spot and wait four to six weeks for best results, trimming uneven edges if needed. It’s a patient, satisfying hobby you can do with simple tools and careful steps, with every batch.
Common Lard Soap Problems and Fixes
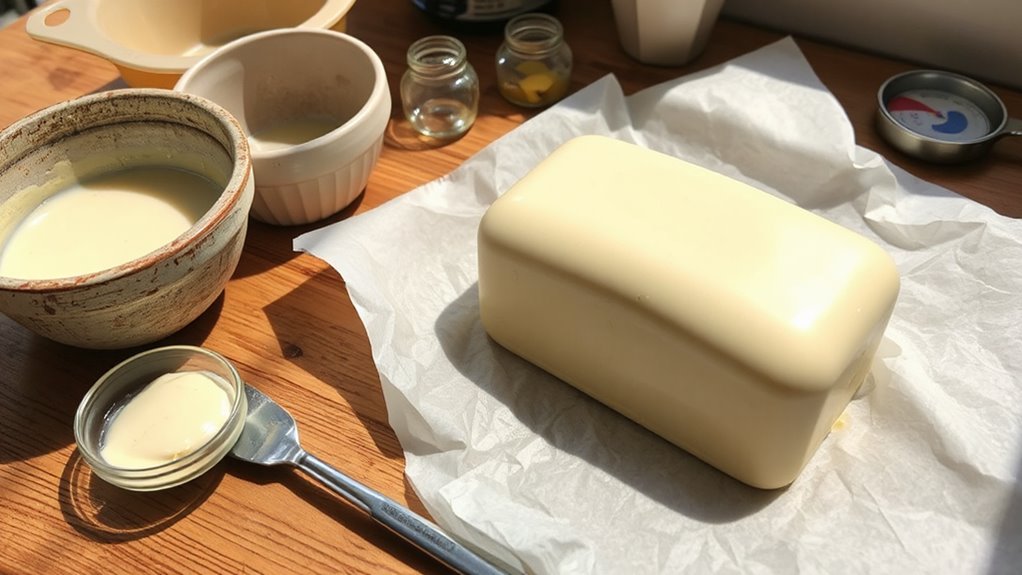
If your lard soap looks gritty, don’t panic, most issues can be fixed by checking temps and stirring gently.
- Check temperatures and stir gently to prevent ash and keep the soap smooth.
- If you see false trace, keep blending for a few more seconds and test again.
- Add a touch of heat or cooling if the mixture thaws or firms unevenly.
- Re-pour into molds, insulate, and let it rest overnight to cure.
With practice, you’ll spot problems fast, learn the right timing, and enjoy soap making as a simple hobby you can share. Patience turns gritty batches into creamy bars you’ll love today.
Budget Variations: Cut Costs Without Sacrificing Quality
You don’t need to spend a lot to make solid lard soap at home. Budget variations help you keep quality high while saving, and you can still enjoy creamy texture and gentle bubbles. Use rendered fats from earlier batches, because they’re inexpensive and work as well as more expensive oils. Try alternative oils like coconut or olive in small amounts, replacing part of the lard to cut costs without sacrificing lather. Stick to the same safe steps, measure carefully, and blend to trace. Shop in bulk, reuse jars, and enjoy the hobby with friends. Your kitchen soap, your rules.
Frequently Asked Questions
How Long Does Lard Soap Last Before Rancidity?
Typically, your lard soap lasts 1 to 2 years if you store it properly. Use airtight storage in a dark place, and add antioxidant additions like vitamin E to maintain freshness and extend shelf life.
Can I Use Kitchen Utensils for Soap Making Safely?
Yes, you can, but dedicate or thoroughly sanitize kitchen utensils; don’t reuse them with food. Be mindful of material reactivity and cross-contamination to avoid reactions between lye, metals, or plastics in your workspace today.
Is Lard Soap Suitable for Humid Climates?
Yes, lard soap can work in humid climates, but it may sweat or soften more quickly. Use drying racks in a dry, airy room and follow storage tips: keep bars dry, away from moisture, and wrap them.
How to Recycle Leftover Soap Scraps Effectively?
To recycle leftover soap scraps, melt and pour them into a block, then grate and mix with fresh soap shavings for texture. Re-melt, pour into molds, cure briefly, and reuse scraps for future batches.
Can I Fragrance Soap Without Essential Oils?
Yes, you can fragrance soap without essential oils by using fragrance oils, but ensure they are body-safe. Always test for skin reactions and label your products; choose reputable fragrance oils and store away from heat.
Conclusion
Soap making with lard is a friendly, doable project that fits into any budget. You’ll learn, mix, and adjust until your bars feel just right, and you’ll quickly notice the savings in your bathroom stash. Start small, follow safety steps, and keep notes on what you love about each batch. With patience, simple recipes become routine, and your pride grows with every creamy, gentle bar you pour into your mold to share.