
How to Make Perfume Soap: You can start by choosing melt-and-pour or cold process, then gather safety gear and simple ingredients, because both paths let you customize scents with lavender, citrus, or vanilla.
You test small batches, layer fragrances, and add color with mica while keeping your workspace safe with gloves and ventilation.
If you want texture, try oats or botanicals and stir at trace. Curious how the bars come together and cure?
Choose Your Soap Path: Melt-and-Pour or Cold Process

Choosing your soap path is the first exciting decision, and both melt-and-pour and cold process work great. Melt-and-pour keeps things quick and friendly, letting you use soap bases and add oil infusions after you melt. Cold process gives you more control over textures and lathers, and you learn temperatures, measuring, and safety skills. Choose the path that fits your schedule, then gather a few simple supplies and start experimenting with gentle scents. Either route turns into a fun, creative hobby you can share with friends and personalize for gifts. Remember to test small batches and enjoy the process together. For melt-and-pour beginners, selecting a high-quality base like Earths Secrets goat milk base can enhance moisturizing benefits and ease of customization.
Gather Ingredients, Safety Gear, and Prep Steps
Before you start, gather all your ingredients and safety gear, and set up a clean, organized workspace.
Keep things simple by laying out oils, lye, water, and fragrances within reach. Oil selection matters, so choose olive oil, coconut oil, and a butter for smooth bars. Safety first means gloves, goggles, and a well-ventilated area for lye handling. Prep your tools: a sturdy pot, measuring cups, a thermometer, and molds. Read labels, measure precisely, and note batch details. Keep water separate from lye solutions, add lye slowly to avoid splashes, and stir carefully. Clean up as you go and store leftovers.
Fragrance, Color, and Texture Techniques for Perfume Soap
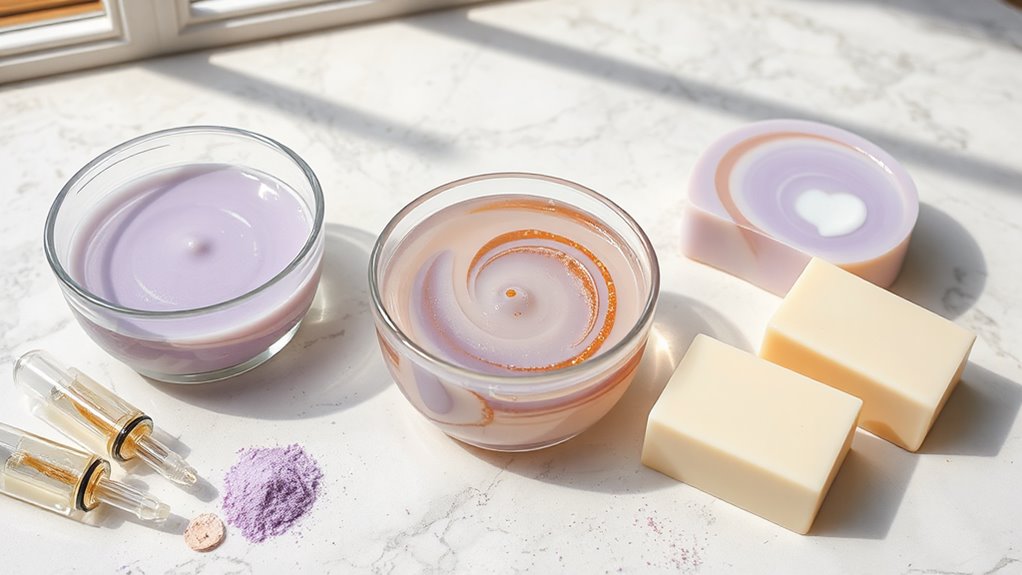
To make your soap smell amazing, layer scents, colors, and textures in simple, smart steps. Start with scent layering by pairing a soft essential oil like lavender with a bold er note like citrus. Choose oil blends that complement rather than clash, and test small batches before making a full bar. For color, choose mica or soap-safe dye and add in stages to avoid muddy tones. Texture comes from optional oatmeal, ground nuts, or lightweight botanicals stirred gently at trace. Keep notes on scent strength and color depth, then adjust oil blends and fragrance amounts for future batches. Enjoy. A well-balanced blend can include camphoraceous notes for a refreshing, cleansing aroma that holds up during curing.
Cure, Unmold, and Package Your Luxury Bars
Now that your bars have the perfect scent and texture, it’s time to cure, unmold, and package them. Place the bars on drying racks in a cool, dry spot for 24 to 48 hours until they feel firm to the touch. Gently remove from molds, then set them back to finish curing if needed. For packaging, wrap each bar in simple tissue or clear paper, and add a label with the scent and date. If giving as gifts, use pretty gift wrapping and a ribbon. Store wrapped bars in a box away from heat and sunlight for long-lasting freshness. For easy release and minimal tearing, use high-grade silicone molds that are compatible with a wide range of soap-making techniques.
Frequently Asked Questions
What Are Safe Fragrance-To-Soap Ratios for Sensitive Skin?
For sensitive skin, keep fragrance usage low, typically 0.5–1% of the soap’s weight, and monitor for allergy concerns. Begin with patch tests, and prefer a fragrance-free base if irritation occurs; discontinue use if redness or itching appears.
Can I Substitute Essential Oils With Fragrance Oils Safely?
Yes, you can substitute essential oils with fragrance oils in many applications, but perform a skin patch test first to ensure safety. Fragrance oils vary in strength and how they behave in oil blends, so start with small test batches and monitor for irritation and any changes in stability over time.
How to Prevent Fragrance-Induced Discoloration in Cold Process?
To prevent fragrance-induced discoloration in cold process soap, limit vanilla-heavy scents, monitor vanillin impact, test color stability, and adjust with kaolin clay to help bind colorants. Add antioxidants, pour at light trace, and cure away from sunlight for better stability.
Is There a Preservative Needed for Water-Containing Sprays?
Yes, water-containing sprays generally require a preservative. Include a broad-spectrum preservative in your formulation to extend shelf life, especially if the product contains emulsions or botanical ingredients. Without a preservative, microbial growth can shorten shelf life and compromise safety.
How to Test Scent Stability Over Time Before Gifting?
Assess scent stability by aging samples and evaluating scent throw at intervals. Seal jars, store away from light, and compare intensity over several weeks. Note any accelerated aging effects and adjust formulas or oils to maintain performance before gifting.
Conclusion
Getting into perfume soap is easy and rewarding, especially if you start small. Choose one method, melt-and-pour or cold process, and learn the basics first. Gather gloves, goggles, and ensure you have a well-ventilated space. Test fragrances in tiny batches before committing to larger bars. Color with mica, add oats for texture, and stir gently at trace for smooth bars. Wrapping can look polished, and labels help keep your scents fresh, date each batch. You can do this.


